Starting A Meeting
Follow our simple, step-by-step guide to starting a meeting that you don’t have time to prep – great for capturing details of an ad hoc or impromptu meeting, chat, or call.

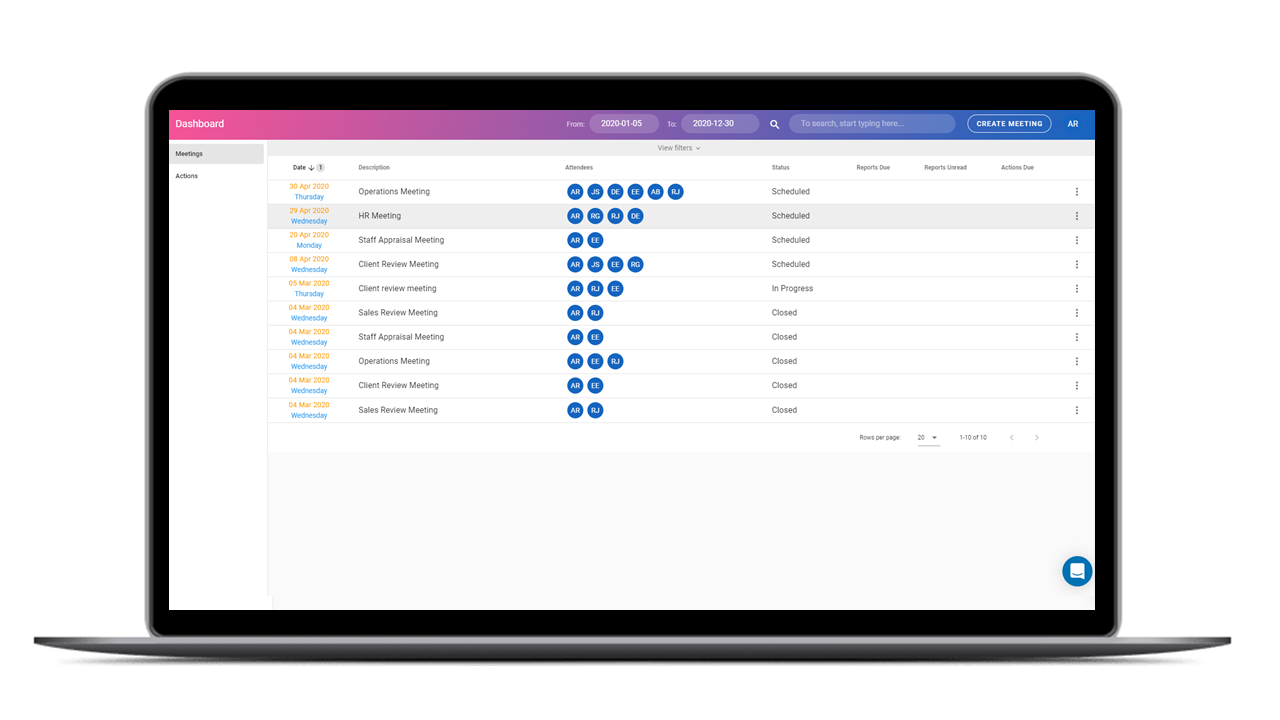
Overview
Magic Minutes is designed to work for both formal meetings (with agendas, reports, etc.) and for when you want to grab some quick notes.
To start taking notes, simply click on the “CREATE MEETING” button!
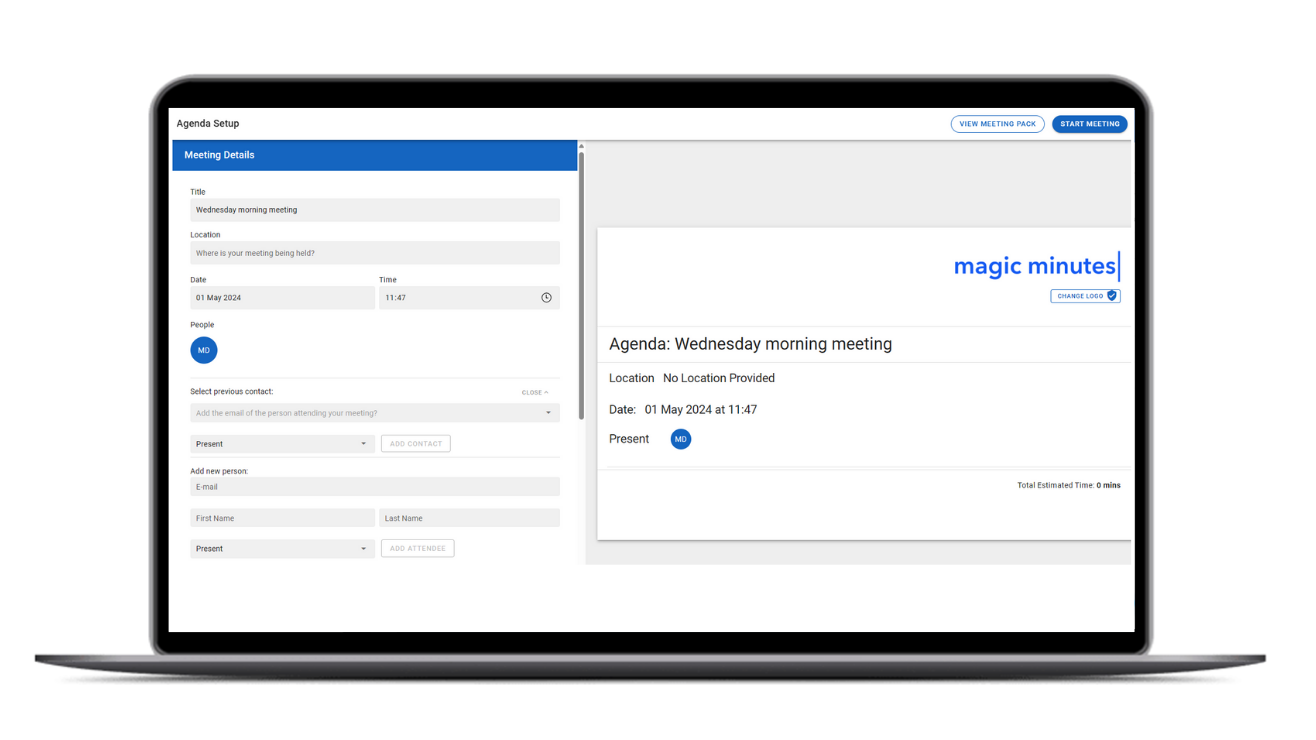
Adding Meeting Information
Start by adding a meeting title or, if you want to get started straight away, leave this blank and one will automatically be generated for you (based on the day and time of the meeting).
Next, select a date from the date picker. The meeting time can then be added.
A meeting location is optional and will remain blank if you choose not to type anything into this area.
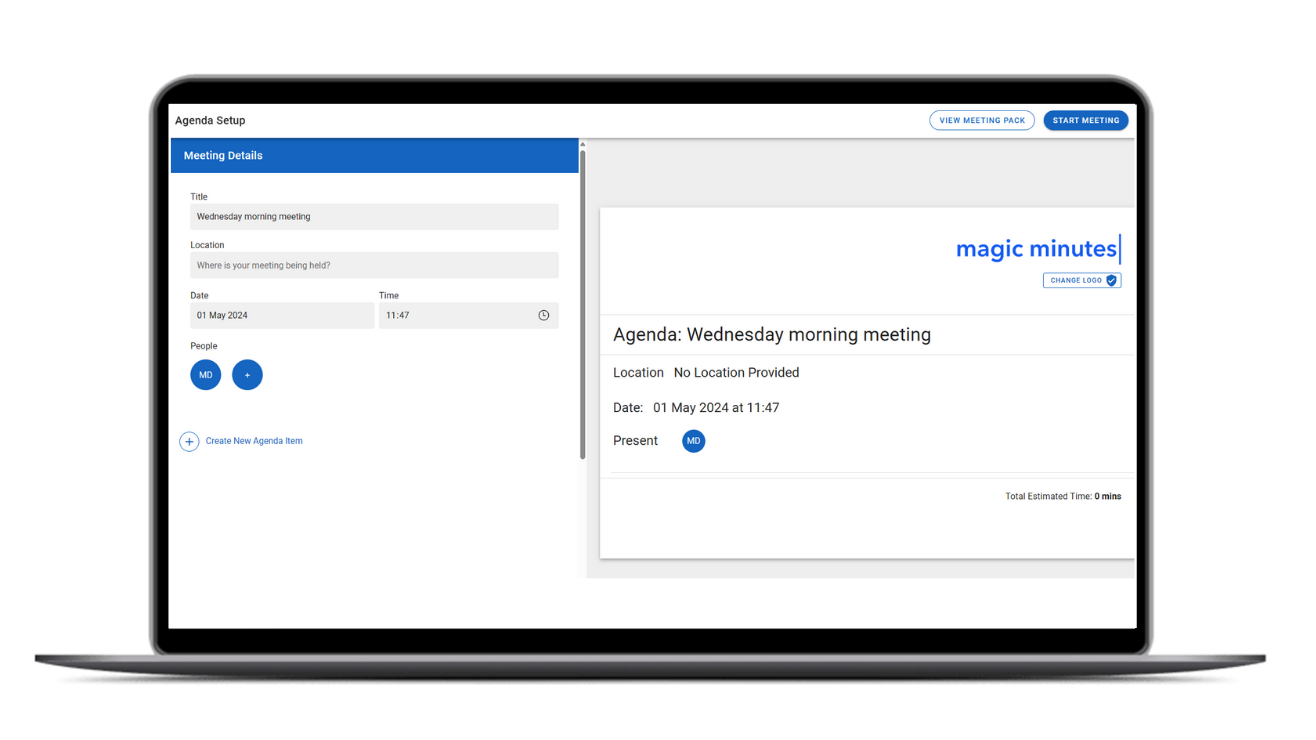
Inviting Attendees
Add attendees, or other people you may wish to receive a copy of the minutes, by typing in their email address, and first and last names, in the ‘Add New Person’ section and clicking “Add Attendee”.
You can then assign their meeting status (Present, Apologies, Copy Only) by clicking on the ‘individuals icon and choosing from the dropdown box. You can also choose to remove them by clicking the bin icon.